The Rosary Shop
Supporting the life of prayer since 1996 with custom handmade rosaries, rosary kits, supplies, kneelers and prayer books.
This page is no longer monitored, and is here for information only. To order a custom rosepetal rosary or rosary repair, see the home page.
Cord Knots
When making cord rosaries, some people find the knots a particular obstacle. Once you "get" them, though, they are quick and easy.
For clarity, the beads and other rosary parts are omitted from these pictures.
Step 1
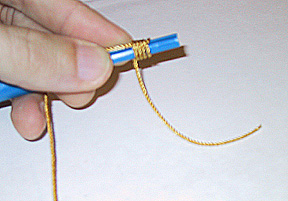
Holding the knotting tool in your left hand (assuming you are right handed), pin the cord between your index finger and the SIDE of the knotting tool. Do not place the cord in the slot.

Step 2
Grasp the loose end of the cord with your right hand and wind the cord around the tool, such that the winds progress "backwards" towards your left hand. The windings take the place of your left index finger, pinning the cord against the tool. Most people make 4-6 wraps. Some like to do more, but the more wraps you make, the more difficult step four will be.
Step 3
Push the loose end of the cord through the slot, through the winds, and out the end of the tool.
Step 4
Gently slide the tool out from inside the wraps. Gradually pull the two ends of the cords while lightly rolling the wraps between your fingers. They will cinch down.
Sometimes they cinch down just perfectly. Other times you'll end up with a little lump. You'll get better with time. As the wraps are tightening, you can sometimes slide the knot a short distance along the cord, if necessary to adjust for space next to the beads.
Centers and Crucifixes
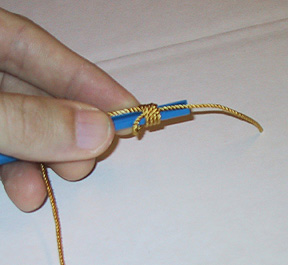
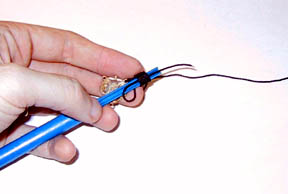
Attaching centers and crucifixes can be challenging with cord, but the technique is almost the same as above. First, just thread the loose end of the cord through the eye of the center or crucifix. For these examples, we are using a center.
Then pinch the cord between your index finger and the knotting tool. Two strands of cord will be under your finger -- both the loose end, and the end that will hold the beads.
With your other hand, wind the loose end around the tool and pinned cord a few times. Wind backwards towards the palm of the hand holding the tool, then thread the loose end through the slot of the tool.
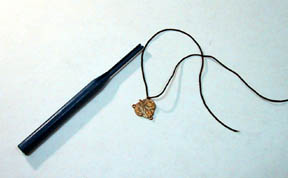
Now gently slide the tool out of the knot. Gradually pull the cord tight while "massaging" the knot windings with your fingers.
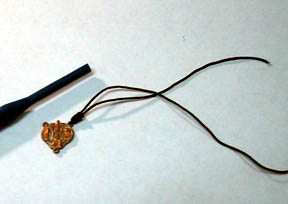
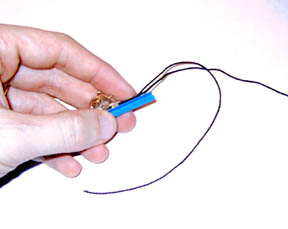
When attaching the other end of the cord to the center, after adding all the beads, the technique is similar. You'll have to take some care to control the length of cord so that the knot ends up tight against the beads and center.